
The WBiPro Interactive Smart Projector converts any plain classroom wall or whiteboard into an engaging digital workspace. Depending on your classroom tech stack, the projector operates across three distinct configuration pathways: standalone native Android, interactive Windows laptop integration, and standard projection via a Mac computer. This guide walks you through setting up these modes and running optical calibration.
Quick Selection Guide: Which Operational Mode To Choose From
| Operational Mode | Primary Use Case | Required Connections | Interactive Touch / ePen |
|---|---|---|---|
| Standalone Mode | Quick lessons, offline teaching, built-in apps | AC Power Cable only (Zero PC required) | Yes (Native Android & Whiteboard apps) |
| Windows Laptop Mode | Advanced STEM lessons, interactive MultiBoard tools | HDMI Cable + USB Data Cable (Type-A to Type-C) | Yes (Full optical ePen tracking) |
| Mac Computer Mode | Standard high-definition media and presentation projection | HDMI Cable for video and audio output | No (Standard display projection only) |
Mode A: Standalone Mode (Zero PC Required)
Best for quick lessons, offline environments, or classrooms without a dedicated laptop.
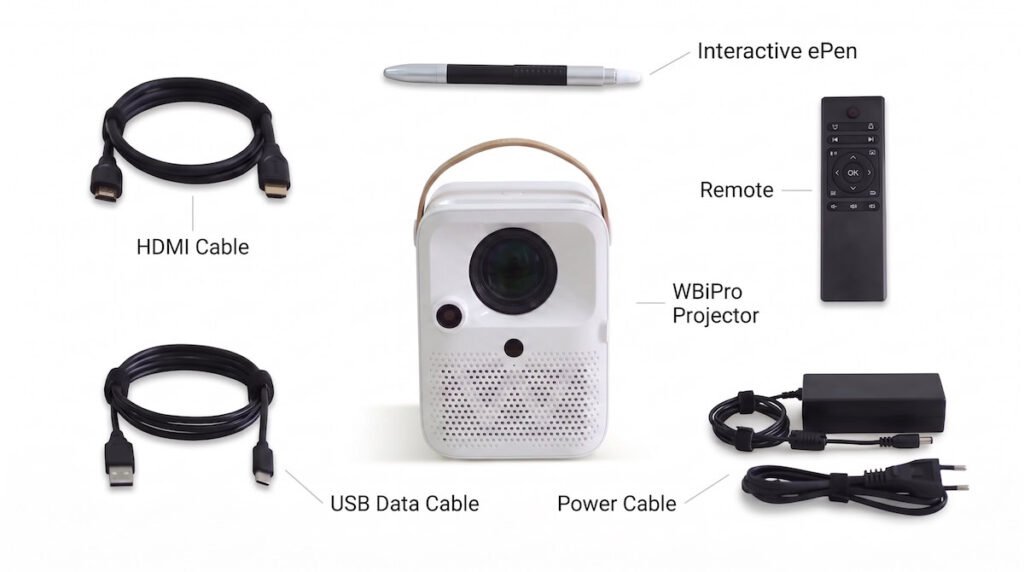
- Power: Power on the projector directly using the power cable.
- USB Data Cable (Type-A to Type-C): Plug the Type-C end into the front port of the projector and the Type-A end into the type-A port located at the back of the WBiPro. This allows the projector to receive the infrared optical signal from the ePen.
Mode B: Windows Laptop Mode (Interactive MultiBoard)
Best for advanced STEM lessons, textbook annotations, and full interactive touch control.
- Power: Power on the projector directly using the AC cable.
- Connection: Connect two cables between your Windows laptop and the projector:
- HDMI Cable: Transmits 1080p video and audio.
- USB Data Cable (Type-A to Type-C): Plug the Type-C end into the front port of the projector and the Type-A end into your Windows laptop to transmit optical ePen tracking data.
- Display Settings: Press
Win + Pon your keyboard and select Duplicate.
Mode C: Mac Computer Mode (Standard Projection)
- Power: Power on the projector directly using the AC cable.
- Connection: Connect your Mac computer to the projector via an HDMI cable for video and audio output.
- Usage: The projector functions as a standard high-definition display for your Mac desktop and presentations. (Note: Active ePen interactive touch tracking features are optimized for Windows MultiBoard environments).
🔴 Note: Remember the Remote Control and Interactive ePen each require 2 AAA batteries to work.
Frequently Asked Questions
Do I need an active internet connection to use the WBiPro projector in my classroom?
No. The WBiPro features 100% offline capability for its native Android whiteboard, geometry tools, and offline lessons, meaning teachers can run classes without relying on school Wi-Fi.
Can I connect a Mac computer to the WBiPro projector?
Yes. You can connect a Mac via an HDMI cable for standard high-definition display projection. Note that interactive touch and active ePen tracking features are fully optimized for Windows MultiBoard environments and the onboard Android system.
What cables are required for the interactive Windows laptop setup?
You require a two-cable setup: an HDMI cable for crystal-clear video and audio transmission, and a USB Type-A to Type-C data cable to feed optical ePen sensor tracking data directly to your laptop.
Do I need a special electronic whiteboard or smart glass panel?
No special electronic whiteboard or glass panel is required. The projector can display and track touch interactions on any smooth, light-colored concrete wall, standard dry-erase whiteboard, or flat painted surface.
How do I set up the WBiPro projector for Standalone Mode?
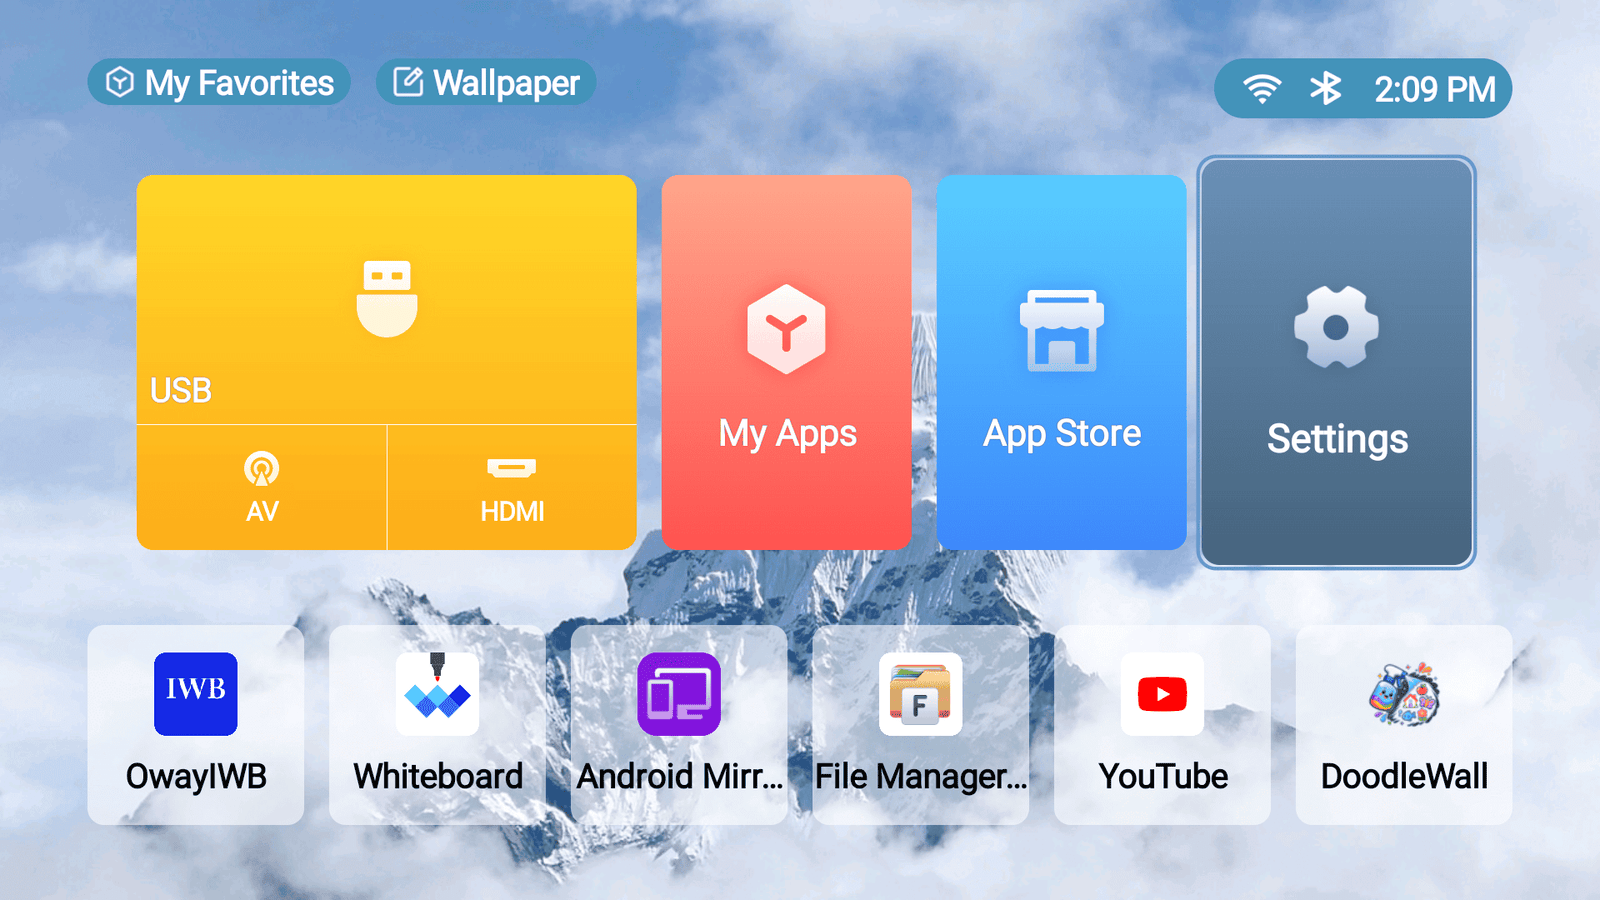
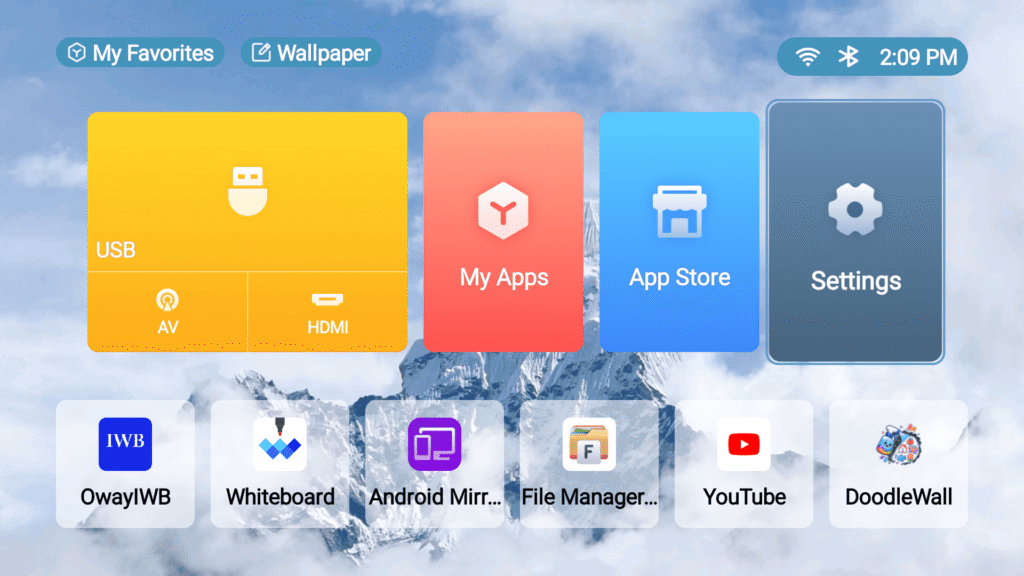
Power on the projector directly using the AC power cable to boot into the onboard Android OS dashboard. This mode requires zero computers, allowing teachers to immediately launch native offline applications, built-in whiteboards or play YouTube content.
How do I connect the WBiPro projector to a Windows laptop for interactive touch?
To enable full MultiBoard interactive functionality and optical ePen tracking, establish a secure dual-cable connection between your Windows laptop and the projector:
- Video & Audio Transmission: Plug a standard HDMI cable from your laptop’s video output into the projector to ensure crystal-clear 1080p display and sound.
- Interactive Data Transmission: Plug the USB Type-C end into the projector’s front port and the USB Type-A end into your Windows laptop to feed ePen optical sensor tracking data directly to your operating system.
- Display Configuration: Press
Win + Pon your keyboard and select Duplicate so your desktop mirrors correctly onto your projection surface.
How do I connect a Mac computer to the WBiPro projector?
If you are presenting from a macOS environment, connect your Mac computer to the projector using a single HDMI cable for high-definition video and audio output. Note: The projector will function as a standard high-definition display; active ePen touch tracking and interactive whiteboard features are optimized specifically for Windows and standalone Android modes.